macmaster

⚠️ CRACKED SCREEN ⚠️ WATER DAMAGE ⚠️ SPEAKER NOT WORKING ⚠️ NO SIGNAL ⚠️ BROKEN BUTTONS ⚠️ DEAD BATTERY ⚠️ CRACKED SCREEN ⚠️ WATER DAMAGE ⚠️ SPEAKER NOT WORKING ⚠️ NO SIGNAL ⚠️ BROKEN BUTTONS ⚠️ DEAD BATTERY

Author name: admin

Diagnosis, process, Repair, Testing

Iphone Screen Repair Tips

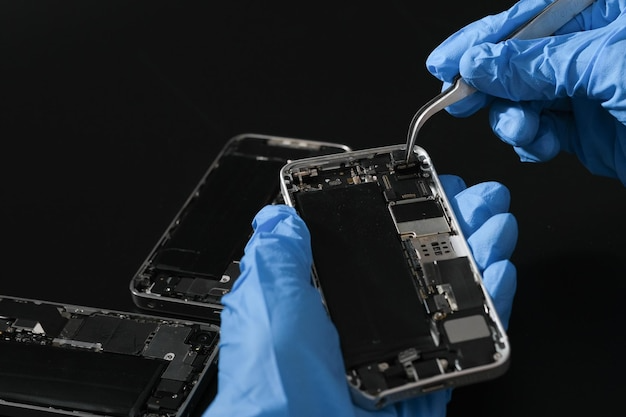
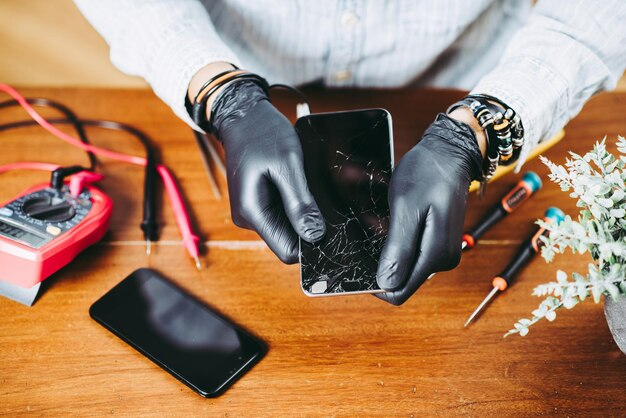
iPhone Screen Repair Tips: A Complete Guide A cracked or malfunctioning iPhone screen is one of the most common issues users face. Whether it’s a minor scratch or a major break, screen damage can be frustrating. The good news is there are smart ways to fix it. In this blog, we’ll share expert tips to repair and protect your iPhone screen effectively. 1. Assess the Damage First Before taking any action, check how serious the damage is: – Minor scratches: Might be fixed with screen polish or tempered glass. – Cracks but still usable: Replacement might be needed soon. – Touch not working or black spots: Likely needs a full-screen replacement. – Shattered glass: Stop using immediately to avoid injury. Document the damage with photos. This is helpful if you claim insurance or warranty. 2. Check Warranty or AppleCare+ Before paying for repairs, check if you’re eligible for AppleCare+ or a standard warranty: – AppleCare+ often covers accidental damage with reduced service fees. – Out-of-warranty repairs can be expensive, so always compare costs. – Apple also provides an Express Replacement Service for mail-in replacement. Go to Settings, then General, then About, and select Coverage to check eligibility. 3. DIY Repairs – Should You Try? DIY kits are available online, but only use them if you’re confident. Pros: – Cheaper than service centers – Good learning experience Cons: – Risk of damaging internal parts – May void your warranty – You need special tools like pentalobe screwdrivers, suction cups, and spudgers Tip: Watch multiple tutorials and buy high-quality replacement parts if you decide to do it yourself. 4. Professional Repair Options – Apple Store / Authorized Service Centers: Best-quality parts, but the most expensive. – Third-Party Repair Shops: Affordable and fast, but check reviews and ensure they offer a warranty on parts. – Mail-in Repair Services: Convenient but take a few days. 5. Backup Your iPhone Before Repair Always back up your data before any repair: iCloud Backup: – Go to Settings, then Your Name, then iCloud, then iCloud Backup, and select Back Up Now. Computer Backup: – Connect your iPhone, then open Finder (Mac) or iTunes (Windows) and select Backup. 6. Don’t Ignore These Warning Signs If you notice any of the following, repair immediately: – Screen getting hot – Ghost touches or random typing – Yellow or green lines appearing – Low display brightness – Delay in touch response Delaying repair might damage the motherboard, which is much more expensive to fix. 7. How to Prevent Future Screen Damage – Use a tempered glass protector, preferably with 9H hardness. – Buy a shock-proof case. – Avoid putting your phone in the same pocket as keys or coins. – Keep your phone away from extreme heat or humidity. – Use pop sockets or grips to avoid dropping your phone. 8. Repair Cost Estimates (Approx.) Repair Type Estimated Cost Minor Scratch Fix $10 – $25 Screen Protector $5 – $20 Third-Party Screen Replacement $70 – $150 Apple Official Screen Repair $150 – $350 (Prices vary by model and region.) Conclusion A damaged iPhone screen doesn’t mean you need to buy a new phone. With the right approach—checking warranty, backing up data, and choosing a trusted repair option—you can restore your device safely and affordably. Take good care of your screen moving forward, and your iPhone will last much longer!


Diagnosis, process, Repair, Testing

Data Recover Data

ply dummy text of the printing and typesetting industry. Lorem Ipsum has been the industry’s standard dummy text ever since the 1500s, when an unknown printer took a galley of type and scrambled it to make a type specimen book. It has survived not only five centuries, but also the leap into electronic typesetting, remaining essentially unchanged. It was popularised in the 1960s with the release of Letraset sheets containing Lorem Ipsum passages, and more recently with desktop publishing software like Aldus PageMaker including versions of Lorem Ipsum

process

Return To The Specified Address

After the successful repair, our consultant will get in touch with you to confirm your preferred delivery time and address. We make sure your device is securely packed and safely delivered back to you in top working condition. Our team will also provide guidance on maintenance tips and warranty details to help you keep your gadget performing smoothly.

process

Quality Check and Testing

Before delivering your device, our team conducts a thorough quality inspection and multiple performance tests. Each component is examined to ensure proper functionality, safety, and durability. We verify that all issues have been completely resolved and the device performs as efficiently as when it was new. Only after passing every test do we mark your gadget as ready for delivery.

process

Repair

Our skilled specialists ensure precise and reliable repairs using only high-quality, certified replacement parts. Every repair is handled with care to maintain your device’s originality and performance. You can rest assured that your data and personal information will remain completely safe throughout the process. We also perform rigorous testing to confirm that everything works perfectly before returning your device.

process

Arrival and Diagnosis

Once our expert technician arrives, they will perform a detailed inspection of your device to determine the exact cause of the problem. Depending on the level of complexity, minor issues may be fixed on the spot, while more complicated cases will be taken to our fully equipped service center for an in-depth diagnosis and professional repair.

process

You Call Us

You can reach out to us anytime that suits you best. Our friendly consultant will carefully listen to your issue, understand the symptoms of your device’s malfunction, and gather essential details like your contact information and gadget model. Based on your convenience, we’ll schedule a suitable time for our technician to visit or guide you through the next steps for service.

Diagnosis, process, Repair, Testing

How To Prevent Water Damage

How to Prevent Your Mobile from Water Damage Water and smartphones do not mix well. A brief exposure to water can cause serious issues, affecting the speaker, display, charging port, and internal components. In some instances, it can even permanently damage the device. Fortunately, with the right precautions and quick actions, you can prevent water damage and keep your mobile safe. Let’s look at how to protect your phone and what to do if it gets wet. Why Water Is Dangerous for Mobiles Even a small amount of liquid can lead to: – Short circuits – Speaker or microphone problems – Camera haze or fog – Charging issues – Battery damage – Permanent motherboard failure Preventive Measures – Keep Your Phone Safe 1. Use a Waterproof or Water-Resistant Case Invest in: – Waterproof pouches – Rugged protective cases – Floating cases (helpful near pools and beaches) Choose cases that are IP67 or IP68 certified. They protect against splashes and brief immersion. 2. Apply a Screen and Port Protector Protect vulnerable entry points: – Charging port – SIM tray – Earphone jack Use port plugs or dust caps to prevent water from entering. 3. Avoid Using Your Phone Near Water Areas Be extra careful: – In bathrooms or washrooms – Near sinks while cooking – At the pool or beach – During heavy rain Keep your phone away from wet surfaces, and don’t hold it near water unless necessary. 4. Use a Zip-Lock or Waterproof Pouch When Traveling This simple trick works well. A zip-lock bag or dry pouch will keep your phone safe from splashes, rain, and humidity during: – Trekking – Boating – Hiking – Rainy travel days 5. Avoid Using Your Phone in the Rain Even if your phone is water-resistant, do not test its limits. Moisture can enter through openings and damage internal parts. 6. Keep Your Charging Port Dry If moisture gets into the charging port: – Don’t plug in the charger. – Use a dry cloth, cotton swab, or compressed air to dry it out. – Disable fast charging if possible. Fast charging generates heat that may cause more damage. What To Do If Your Phone Gets Wet Act quickly! Every second counts. Step-by-Step Emergency Guide: – Turn off the phone immediately. – Remove the case, SIM card, and memory card. – Dry the exterior with a soft cloth. – Do NOT use a hair dryer or any direct heat. – Place the phone in uncooked rice or use silica gel packets to absorb moisture. – Wait 24 to 48 hours before turning it back on. If it still doesn’t work, seek professional repair service as soon as possible. Common Mistakes to Avoid – Don’t shake the phone to remove water. – Don’t keep pressing buttons. – Don’t charge it right away. – Don’t use a microwave, oven, or hairdryer. – Don’t ignore warning signs like a fogged camera or muffled speaker sound. Water-Resistant Doesn’t Mean Waterproof! Even phones with IP ratings only resist light exposure; they are not guaranteed protection from: – Saltwater – Chlorinated pool water – High-pressure splashes – Extended submersion Always handle them carefully around water. Final Advice – Prevention is Better Than Repair – Use protective gear. – Be cautious around water. – Stay prepared with backup options. With a few precautions, you can avoid costly repairs and protect your valuable data and device.

Scroll to Top
Request a Quote